Postage labels – If you’re in e-commerce, then you need to know your postage labels. They will be vital to your e-commerce logistics. At first glance, postage labels can seem simple. But getting them wrong can lead to delivery delays and wasted money for your business.
Whether you’re new to the e-commerce game and just sending out your very first products, or you’ve been posting parcels for years, this guide covers it all.
You’ll learn how to help ensure your packages arrive safely and on time. You’ll also find out how to reduce postage costs. We’ll cover:
- What is a postage label
- How do postage labels work
- What to include on an international postage label
- How to place postage labels on the package
- How to create postage labels
- How do you print a postage label
- How you can print a return label
But before we start, want to check whether you’re currently paying too much for your shipping?
What are postage labels?
A postage label includes the necessary information a courier needs to successfully deliver a parcel — from your warehouse to your customer’s home or workplace.
They typically include:
- The customer’s name
- The customer’s address — house number, street, city (town or village), county, postcode, and country
- A courier’s barcode that enables a package to move through their systems and ensures timely delivery
- The postage that has been selected for the package (such as priority postage)
- Details on the package’s contents. This is especially important if you’re shipping internationally. You may also label your package fragile, perishable, or flammable.
Labels also include the chosen postage method (such as Next Day Delivery or Standard). Moreover, you can also label your parcel “This Way Up” to ensure it is transported correctly.
Always remember that you have to create a new label for each package (they’re never reusable).
How do postage labels work?
A postage label contains all the information required to direct a parcel to the right address. In addition, postage labels enable you and your customer to track the parcel throughout its journey. They also guarantee that the right service is provided.
Each label will include relevant numbers, letters, and barcodes that connect to each stage of the postage process.
Postage labels must be readable to both people and technology. In addition, the label you need will depend on your choice of courier — each delivery company has a different process and an accompanying label to match.
What to include on international postage labels
Posting a parcel abroad? You’ll need to take several additional factors into consideration. To post a parcel to a destination outside of the UK, you’ll need to include the correct customs documentation.
What customs documents are required?
- If you’re posting a package worth up to £270 with a postal courier, you must complete and sign a CN22 label. Make sure it doesn’t hide the address.
- If your package is worth more than £270 and you’re still shipping with a postal courier, you must include a CN23 form in a plastic wallet.
- If you’re shipping your package with an international carrier, you will need a commercial invoice instead of a CN22/CN23.
- You’ll also need to check that the contents of your package meets postal regulations or the regulations of your chosen delivery company
- Include a return address
- Write the name of the destination country in capital letters after the name of the recipient’s town or city. Write the country and city names in English. Do not include any ISO codes with the postal codes or town/city names, such as FR, D, CH, etc. This may result in errors and delays in the sorting process.
How to place postage labels on the package
Your postage label should ideally be placed on the largest side of the package — filling just one side. It should be taped flat to the package (without cutting off any important information), so that it is easy to read. Remember that both people and barcode scanners need to be able to read the barcode information on your label.
Ensure that your label is attached securely — so that it is not easily removed in transit. You can also help protect and secure your label by covering it with transparent tape. Plastic wallets are another option to consider — providing great protection from the elements. They can be used to secure enclosed customs documents.
How to create a postage label
Postage labels are created by each courier when they process your order. Whether you opt for a Royal Mail postage label or a Hermes postage label, each delivery company has their own rules that they must follow in order to create usable postage labels. As such, it’s not possible to create one without following their templates.
You have two options: you can arrange a label yourself or you can buy a label at your local post office. The first option is often more affordable and allows you to schedule package pickups.
Interested in arranging your own postage labels? You have 3 methods to choose from:
1: Use Sendcloud’s free postage label template
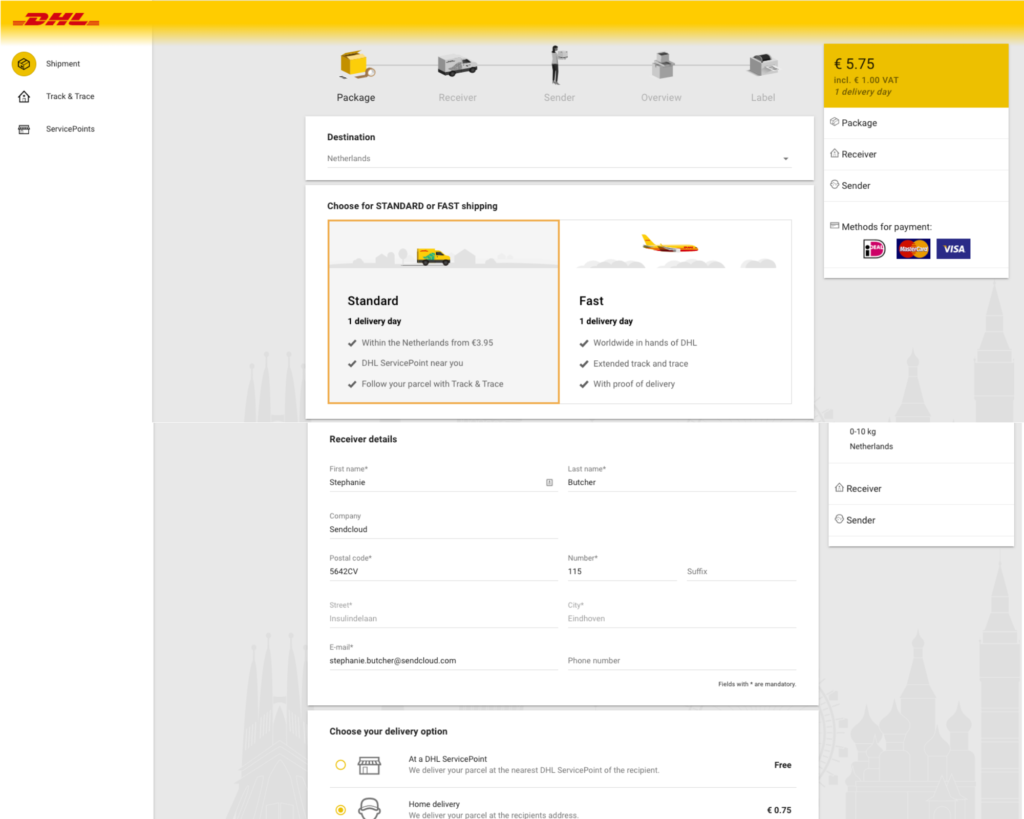
At Sendcloud, we offer a free postage label maker that you can use to create postage labels for your business. All you need is the addresses you’re posting from and to. You can then print your label on an A6 sticker sheet — which you can adhere to your package.
Free Shipping Label Template
2: Create your labels online via a courier’s website
You can use a courier’s online tools using a digital template to create a compliant postage label online via their website. Each delivery company will have specific requirements for their postage labels. After filling in the template, you can then download it and print it out.
Unfortunately, this isn’t the fastest method. You will need to manually enter your order information each time.
3: Use shipping label software
You can also download a courier’s postage label template and customise it on your computer. One plus of this option is that you can easily take your time filling out a label offline.
4: Use a shipping tool to completely automate creating postage labels
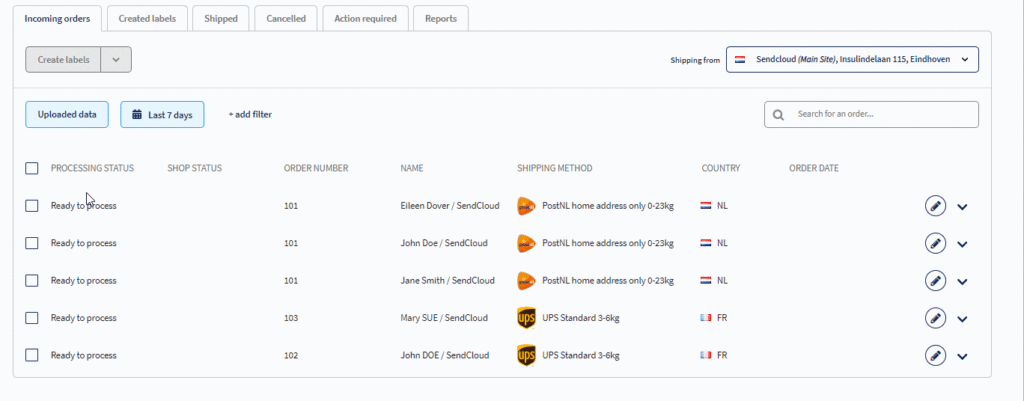
You can sync a shipping tool with your online store and automatically collect and fill in all the order information you need for your postage label — seamlessly automating the process. This is the most time-efficient way to create a high volume of postage labels in a short period of time. This makes a shipping tool the ideal choice if you have a considerable amount of postage labels to get through.
How do you choose the right shipping tool for the job? Consider these questions:
- How many packages do you need to send every month?
- Which selling platforms do you use and need to integrate (such as WooCommerce)?
- Where will you be shipping to? The U.K, or internationally?
- How much money do you have to spend on postage?
Which option is right for you?
If you send under 10 packages a week: get your labels online
Review the range of services that each courier offers, such as delivery options (like safe place or Saturday guarantee), as well as rates. Also consider where each courier’s drop-off centre, post office, or parcel postbox are located — how easy are they for you to get to?
If you send over 10 packages a week: go for a shipping label software or a shipping tool.
Easily integrate your store with the Sendcloud and seamlessly grow your store by automating your shipping processes.
Enable multiple delivery options to help give your customers control of which service they want. Easily manage your returns via the personalised return portal.
How do I print a postage label?
You can print your postage labels with either a standard inkjet/laser printer, or an ink-free thermal label printer.
Inkjet printers:
If you use an inkjet printer then you may run into issues with smudged ink and quickly rack up the expenses of ink refills.
These labels are also vulnerable to running in the rain — which can make your package impossible to deliver. To protect against this, always use waterproof ink and protect your label by placing it in a plastic envelope.
The drawbacks of inkjet printers make them an unwise choice if you have a high-volume of labels to print.
Laser Printers:
Laser printers are more expensive to use than inkjet printers. This is due to the costly label sheets and toner cartridges they require. However, inkjet printers produce a superior-quality label — thanks to the greater precision they offer.
Thermal Label Printers:
Thermal label printers were created for label printing. Therefore, they are the ideal choice if you have more than a handful of packages to print labels for every month.
These printers form labels by using heat — ensuring the labels are easily readable and long lasting. As such, you don’t need additional ink or toner to use them.
One drawback of thermal label printers? They are expensive. That’s why we only recommend purchasing one if you have a considerable amount of labels to print and your costs for additional supplies are mounting.
How to create a return postage label
If you own an e-commerce store then you’ll already know the importance of facilitating returns. From items damaged in transit to clothes that don’t fit right, returns are part and parcel of running an e-commerce store.
You can create a return label via your chosen postage tool or courier website and print your return labels at home. You have the option to either create a new return label when a customer requests or to send a pre-paid return label with each package you send. The first option can save you time, while the second option is less hassle for your customers.
Your guide to postage labels
We hope this guide has covered everything you need to know about postage labels. What can seem daunting at first, especially when you have hundreds of packages to post, can easily become manageable when you have the right tools and systems in place.
Need more help with your shipping?
Check out our guides on the following topics for the most efficient advice on your shipping process:


